DIY: Make a Live-Edge Wooden Side Table
DIY: Make a Live-Edge Wooden Side Table
<< BackLive-edge wood is all the rage these days, and there are countless DIY projects where adding an element of rough-hewn wood makes a big difference in the look and feel of the finished product. While purchasing certain sought-after woods can certainly lead to high costs, you can make amazing a live-edge piece in your own garage for a very inexpensive (if not free) price tag. Read below for recommendations on how to create a top-notch side-table without the top-dollar spending.
Imaginative Upcycling
The key element to making this project awesome is to start with the right base material. You don’t need fancy wood, but you do want a piece that’s interesting and inspires you to work with it. The natural beauty of wood is something most all humans can appreciate, and many of us have a lot of it right in our own backyard. If you have a woodpile, for instance, look for a larger log with a mostly round but unusual shape, or one with worm carvings or bark inclusions. If you don’t have any wood of your own on hand, ask a friend, browse a nearby park, or even head to the yard trimmings section of your local dump. Should finding free wood elude you, it’s possible to buy live-edge wood at Lowes Home Improvement or dedicated stores for new or reclaimed wood.
Surfacing and Finishing
Once you’ve identified the raw material you wish to work with, trim it so the size of the side-table you wish to create. If using a cut section of a log, a width of 2.5-3 inches is generally enough which you can remove using a bowsaw or chainsaw. Much of the artistry comes with surfacing and finishing the table, and there are various techniques to consider. Instructables offers a thorough guide to side-table creation start to finish, even discussing how to add bow-ties to split wood and some different ideas for how to fill gaps. If you’re interested in epoxy projects, there’s a whole world to explore online with Etsy and YouTube videos where people’s imaginations go wild. Like with most projects, it’s usually better to begin with a simpler idea and work in more complex variations in the future with a leg up from personal experience.
Lift Off
While you can certainly make your own legs, base, mountings, or other ways of holding your side-table aloft there are some simple and inexpensive ways to make your life a little easier. Hairpinlegs.com offers scores of different types of hairpin legs (very “in vogue” right now) to select from, most of which simply attach to the bottom of your piece with some basic hardware. If your side table will go next to a wall, decorative brackets or “floating shelf” mounting hardware may present an interesting alternative. Once everything’s attached and assembled, you’re ready to show off the live-edge side table to friends and family! Just beware of incoming requests from loved ones to craft more for them too…
Tip: Use WD-40® Multi-Use Product to free up wood glue from garage floors and other unwanted surfaces to help save time and effort in the clean-up process.
FEATURED PRODUCTS


WD-40® Smart Straw®
WD-40 Multi-Use Product protects metal from rust and corrosion, penetrates stuck parts, displaces moisture and lubricates almost anything.
RELATED ARTICLES
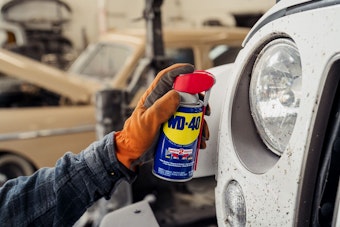
How-to Fix Foggy Headlights: How-to Fix Foggy Headlights
Got foggy headlights? Here are a few tips on how to care for your vehicle’s headlight covers. Keep your eyes on the road with better bright, shiny, and safe illumination.
READ MORE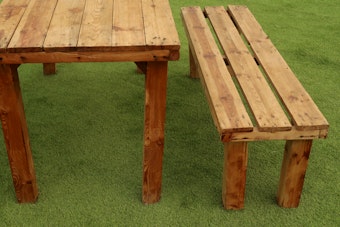
3 Bench Builds for Your Backyard: 3 Bench Builds for Your Backyard
Get your backyard ready for that first warm day of the year by building a bench for your outdoor enjoyment.
READ MORE
How-to Fix Foggy Headlights: How-to Fix Foggy Headlights
Got foggy headlights? Here are a few tips on how to care for your vehicle’s headlight covers. Keep your eyes on the road with better bright, shiny, and safe illumination.
READ MOREWANT TO GET MORE TIPS AND TRICKS?
SUBSCRIBE TO THE NEWSLETTER